How to Install NVM on Ubuntu: A Simple Guide for Developers
Managing multiple versions of Node.js can be a real headache for developers, especially when working on different projects that require different Node.js versions. This is where Node Version Manager (NVM) comes in handy. NVM is a powerful tool that allows you to install, manage, and switch between different versions of Node.js effortlessly. It simplifies the process of maintaining a consistent development environment across various projects.
In this article, we’ll walk you through the steps of installing NVM on Ubuntu, ensuring that you can manage your Node.js versions with ease. Whether you’re a beginner or an experienced developer, these instructions will help you get NVM up and running quickly. For a more in-depth guide and additional tips, check out the detailed instructions on https://10gbvps.com/blog/how-to-install-nvm-on-ubuntu
What is NVM and Why Do You Need It?
Before diving into the installation process, let’s take a quick look at what NVM is and why it’s essential for developers working with Node.js.
NVM, or Node Version Manager, is a command-line tool that allows you to manage multiple Node.js versions on a single machine. It enables you to easily switch between different versions, making it incredibly useful for developers who work on different projects that require varying versions of Node.js. With NVM, you can:
- Install any version of Node.js
- Switch between different versions with simple commands
- Set a default version for a specific project
- Easily update to the latest stable version
Using NVM eliminates the need to manually install, uninstall, or reconfigure Node.js versions, making your development process smoother and more efficient.
Prerequisites for Installing NVM on Ubuntu
Before you start, ensure that your Ubuntu system meets the following requirements:
- A user account with sudo privileges
- Basic familiarity with the terminal
- Access to the internet
NVM requires a bash or zsh shell to run, so make sure your terminal environment supports one of these shells. On most Ubuntu systems, bash is the default shell, so you shouldn’t face any issues.
Step-by-Step Guide to Installing NVM on Ubuntu
Now, let’s dive into the actual installation process. Follow these steps to install NVM on your Ubuntu system:
Step 1: Update Your Package List
Before installing any software, it’s always a good practice to update your system’s package list. Open your terminal and run the following command:
bash
Копировать код
sudo apt update
This ensures that your package list is up to date and that you can install the necessary dependencies without issues.
Step 2: Install the Required Dependencies
NVM requires some dependencies to work properly, including curl and build tools. To install them, run the following command:
bash
Копировать код
sudo apt install curl build-essential libssl-dev
These packages are essential for downloading and compiling Node.js versions via NVM.
Step 3: Download and Install NVM
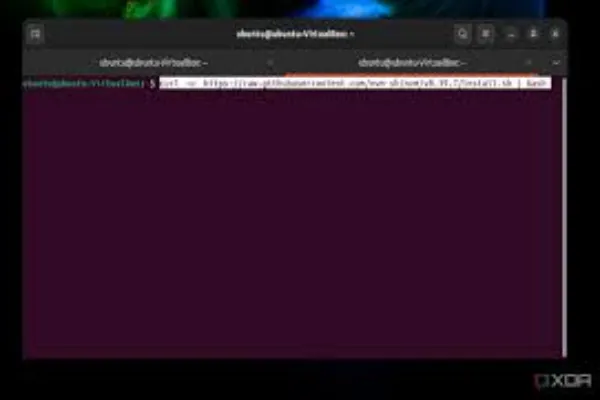
Next, you’ll need to download the NVM installation script from the official NVM repository on GitHub. Use curl to download the script and install NVM with the following command:
bash
Копировать код
curl -o- https://raw.githubusercontent.com/nvm-sh/nvm/v0.39.1/install.sh | bash
This command downloads the latest version of the NVM installation script and runs it. Once the installation is complete, the script will automatically add NVM to your shell profile (.bashrc or .zshrc), so you can use it immediately.
Step 4: Activate NVM
To start using NVM right away, you need to reload your shell profile. Run the following command to load NVM into your current terminal session:
bash
Копировать код
source ~/.bashrc
If you’re using zsh, replace .bashrc with .zshrc.
Step 5: Verify NVM Installation
To ensure that NVM was installed successfully, run the following command to check the installed version of NVM:
bash
Копировать код
nvm –version
If the command returns a version number, then NVM is installed correctly, and you’re ready to start managing Node.js versions.
Installing and Managing Node.js with NVM
Now that NVM is installed, you can use it to install and manage different versions of Node.js.
Step 6: Install a Specific Version of Node.js
With NVM, you can easily install any version of Node.js. To install the latest stable version, run:
bash
Копировать код
nvm install node
Alternatively, if you need a specific version of Node.js, you can specify the version number. For example, to install Node.js version 14.17.0, use the following command:
bash
Копировать код
nvm install 14.17.0
Step 7: Switch Between Node.js Versions
If you have multiple versions of Node.js installed, switching between them is simple. To switch to a specific version, run:
bash
Копировать код
nvm use 14.17.0
You can also set a default version to be used when you open a new terminal session by running:
bash
Копировать код
nvm alias default 14.17.0
This command sets the specified version as the default, so you don’t have to manually switch each time.
Additional NVM Commands and Tips
Here are some useful NVM commands that can make managing your Node.js versions even easier:
- List Installed Versions: To see all Node.js versions installed on your system, run nvm ls.
- List Available Versions: To check which versions of Node.js are available for installation, run nvm ls-remote.
- Uninstall a Version: To remove a specific version of Node.js, use nvm uninstall <version>.
Conclusion
Managing Node.js versions is a crucial aspect of modern web development, especially if you’re working on multiple projects that rely on different versions of the language. By installing NVM, you can simplify this process, ensuring that you always have the correct version of Node.js for each project.
NVM makes it easy to install, manage, and switch between different Node.js versions on your Ubuntu system, significantly improving your workflow and reducing compatibility issues. Whether you’re a seasoned developer or just getting started, NVM is a tool that can help you stay organized and efficient.
If you’re ready to get started and want a more detailed, step-by-step guide, check out the comprehensive article on 10gbvps.com website. You’ll find everything you need to install, configure, and troubleshoot NVM on your Ubuntu machine.